
I'm currently painting pictures to decorate our house. While I was doing the Triangle Picture, I thought, it could be an interesting thing to share. I hope it inspires you! :)
What you will need:
- 220 gsm Drawing Paper (strong surface for repeated working), a few A3 sheets
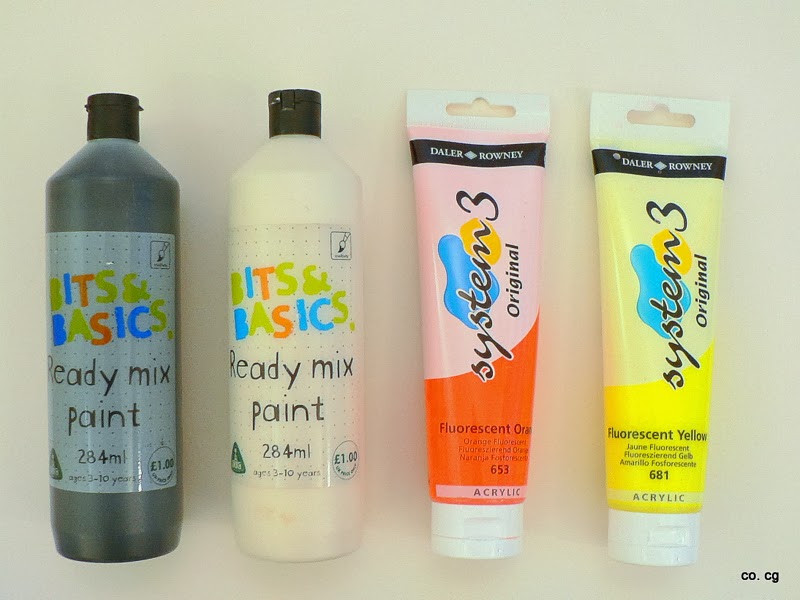
- Colours: black, white, NEON orange and NEON yellow
- Permanent Marker
- Cardboard for the stencil
- Pencil, rubber, scissor, set square or ruler
- At first you need to apply a white foundation to the backround paper. This gives it texture and adds depth to the picture.
-
While the white paint is drying, you need to figure out what colour palette you want to use for the triangles. I went for:
- NEON orange pastel shades (NEON orange mixed with white)
- NEON yellow pastel shades (NEON yellow mixed with white)
- Grey (black mixed with white)
- Black
- Then you have to paint different sheets of paper with the colour shades. 2-3 coats makes the paint opaque. I love to paint with a coarse bristle brush, which adds structure and leaves the bristle lines visible.

- For the stencil, you need cardboard paper, a pencil and a set square. First, draw a 4cm x 4cm (about 1.5 x 1.5 inches) square. Then half the top line of the square. Join this point with the two edges that lie on the other side of the square. Voilà, the shape of a triangle. Cut it out and use it as a stencil to copy the shape on the rear of the painted paper. Now, you can cut out the triangles.

- A good tip is to use a black permanent marker to colour the cut edges of the black triangle. Later, when the black triangles are applied on the picture, it will make them look more plain and clean.

- Once you have a good pile of each colour, place them randomly on the picture. You can decide to have one colour slightly more than another in one area, but normally it's best not to be too conscious about your choices.

- Use the black triangles sparingly, as it is the most solid colour. Maybe 4 - 5 pieces are enough.

- Now you can glue the triangles to the picture. To finish, cut some of the triangle in half and glue them to the sides of the pattern to make the final impression of the picture square complete. While the picture is drying, I placed some heavy books on top of them, so that the triangles are glued flattened to the paper (the complete hardback edition of Lord of the Rings is always handy).

- Once dry and framed, enjoy finding a suitable spot in your home to hang your handiwork and enjoy :)

updated 20/09/13
Caroline, thanks a lot for the detailed instructions. It's interesting and really helpful. :-)
ReplyDeleteHallo Irina! :) Thanks for your comment!
Delete